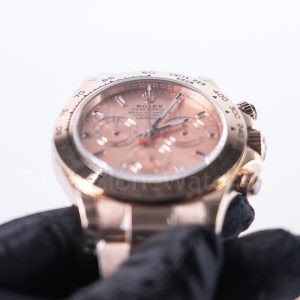
Under ordinary indoor light, a Panda dial can look balanced and crisp; under stronger side light, uneven printing, dust, tilted markers or mismatched subdial rings become easier to see. A static photo still cannot show whether the chronograph starts, stops and resets cleanly. That is why the best Daytona super clone should be chosen through two separate decisions: select the dial and reference that suit the wrist, then approve the exact watch with photographs and a continuous function video.
Among super clone watches, Daytona-style chronographs require unusually detailed checks because the dial contains multiple registers while the bezel, screw-down pushers and reset function must also be reviewed. This guide stays with Daytona-specific choices: Panda, racing and dark dials, ceramic bezel presentation, subdial balance, pushers, bracelet comfort and the final QC approval sequence. Factory head-to-head comparisons and cross-model decisions are intentionally handled on separate pages.
Article Navigation
1. Choose the Daytona Dial and Reference
Begin with the exact visual direction, not a factory name. A white Panda dial, a dark technical dial, a racing-led layout and a textured or color-forward dial create different reading conditions and different QC risks. Fix the product link, dial, bezel treatment and bracelet or strap before asking which current version is available.
Reference selection also prevents mixed descriptions. Confirm that the prepared watch matches the product page in dial color, subdial treatment, bezel type, case tone and bracelet or strap. Use the dimensions stated on that specific listing rather than assuming every Daytona-style option has identical proportions. Where wrist fit is important, request a clear side view and a wrist or ruler reference before approval.
Budget should follow the selected reference and evidence package. Do not accept “best quality” as a substitute for a version explanation. Ask what is actually available for the chosen model and whether the same order includes clear QC photos and chronograph video proof. For official design context, the Rolex Cosmograph Daytona page identifies the model as a chronograph with a tachymetric scale; those two features explain why registers, pushers and bezel printing receive more attention here than general watch-buying topics.
Shortlist rule: keep one primary dial and one backup. Compare those two against the same photo angles and the same function-video request instead of opening several unrelated Daytona listings.
Browse Daytona Models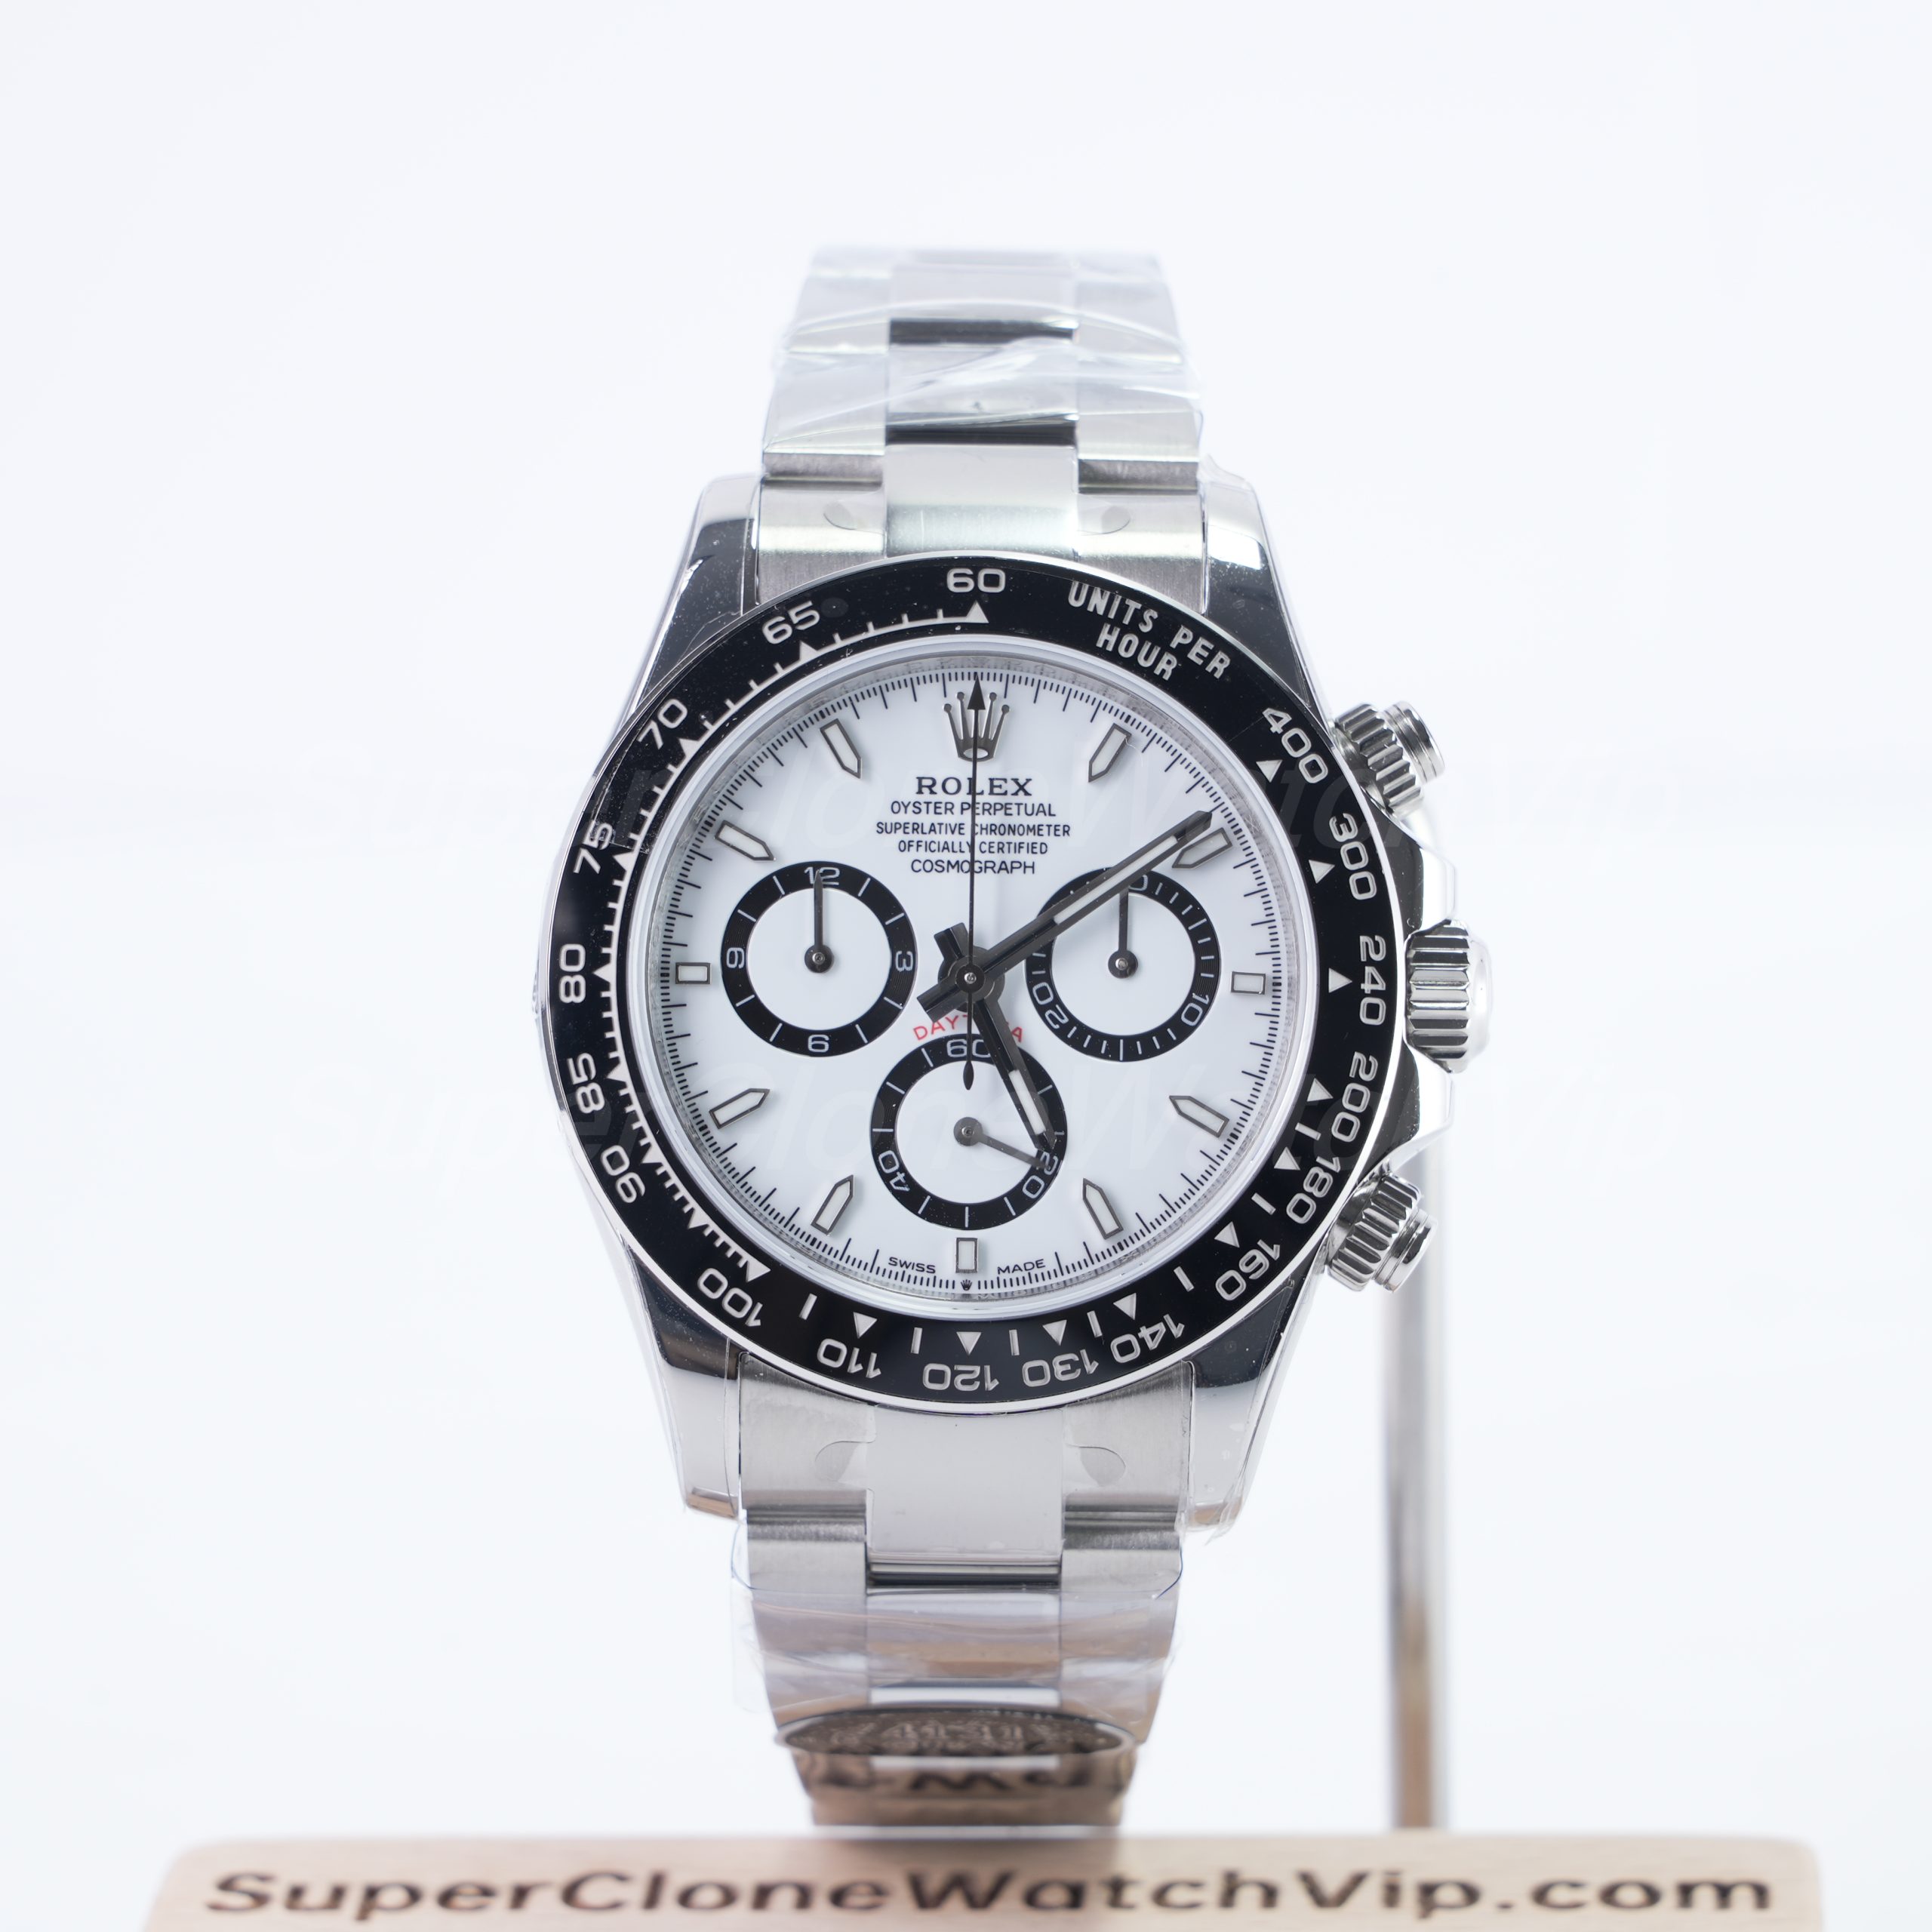
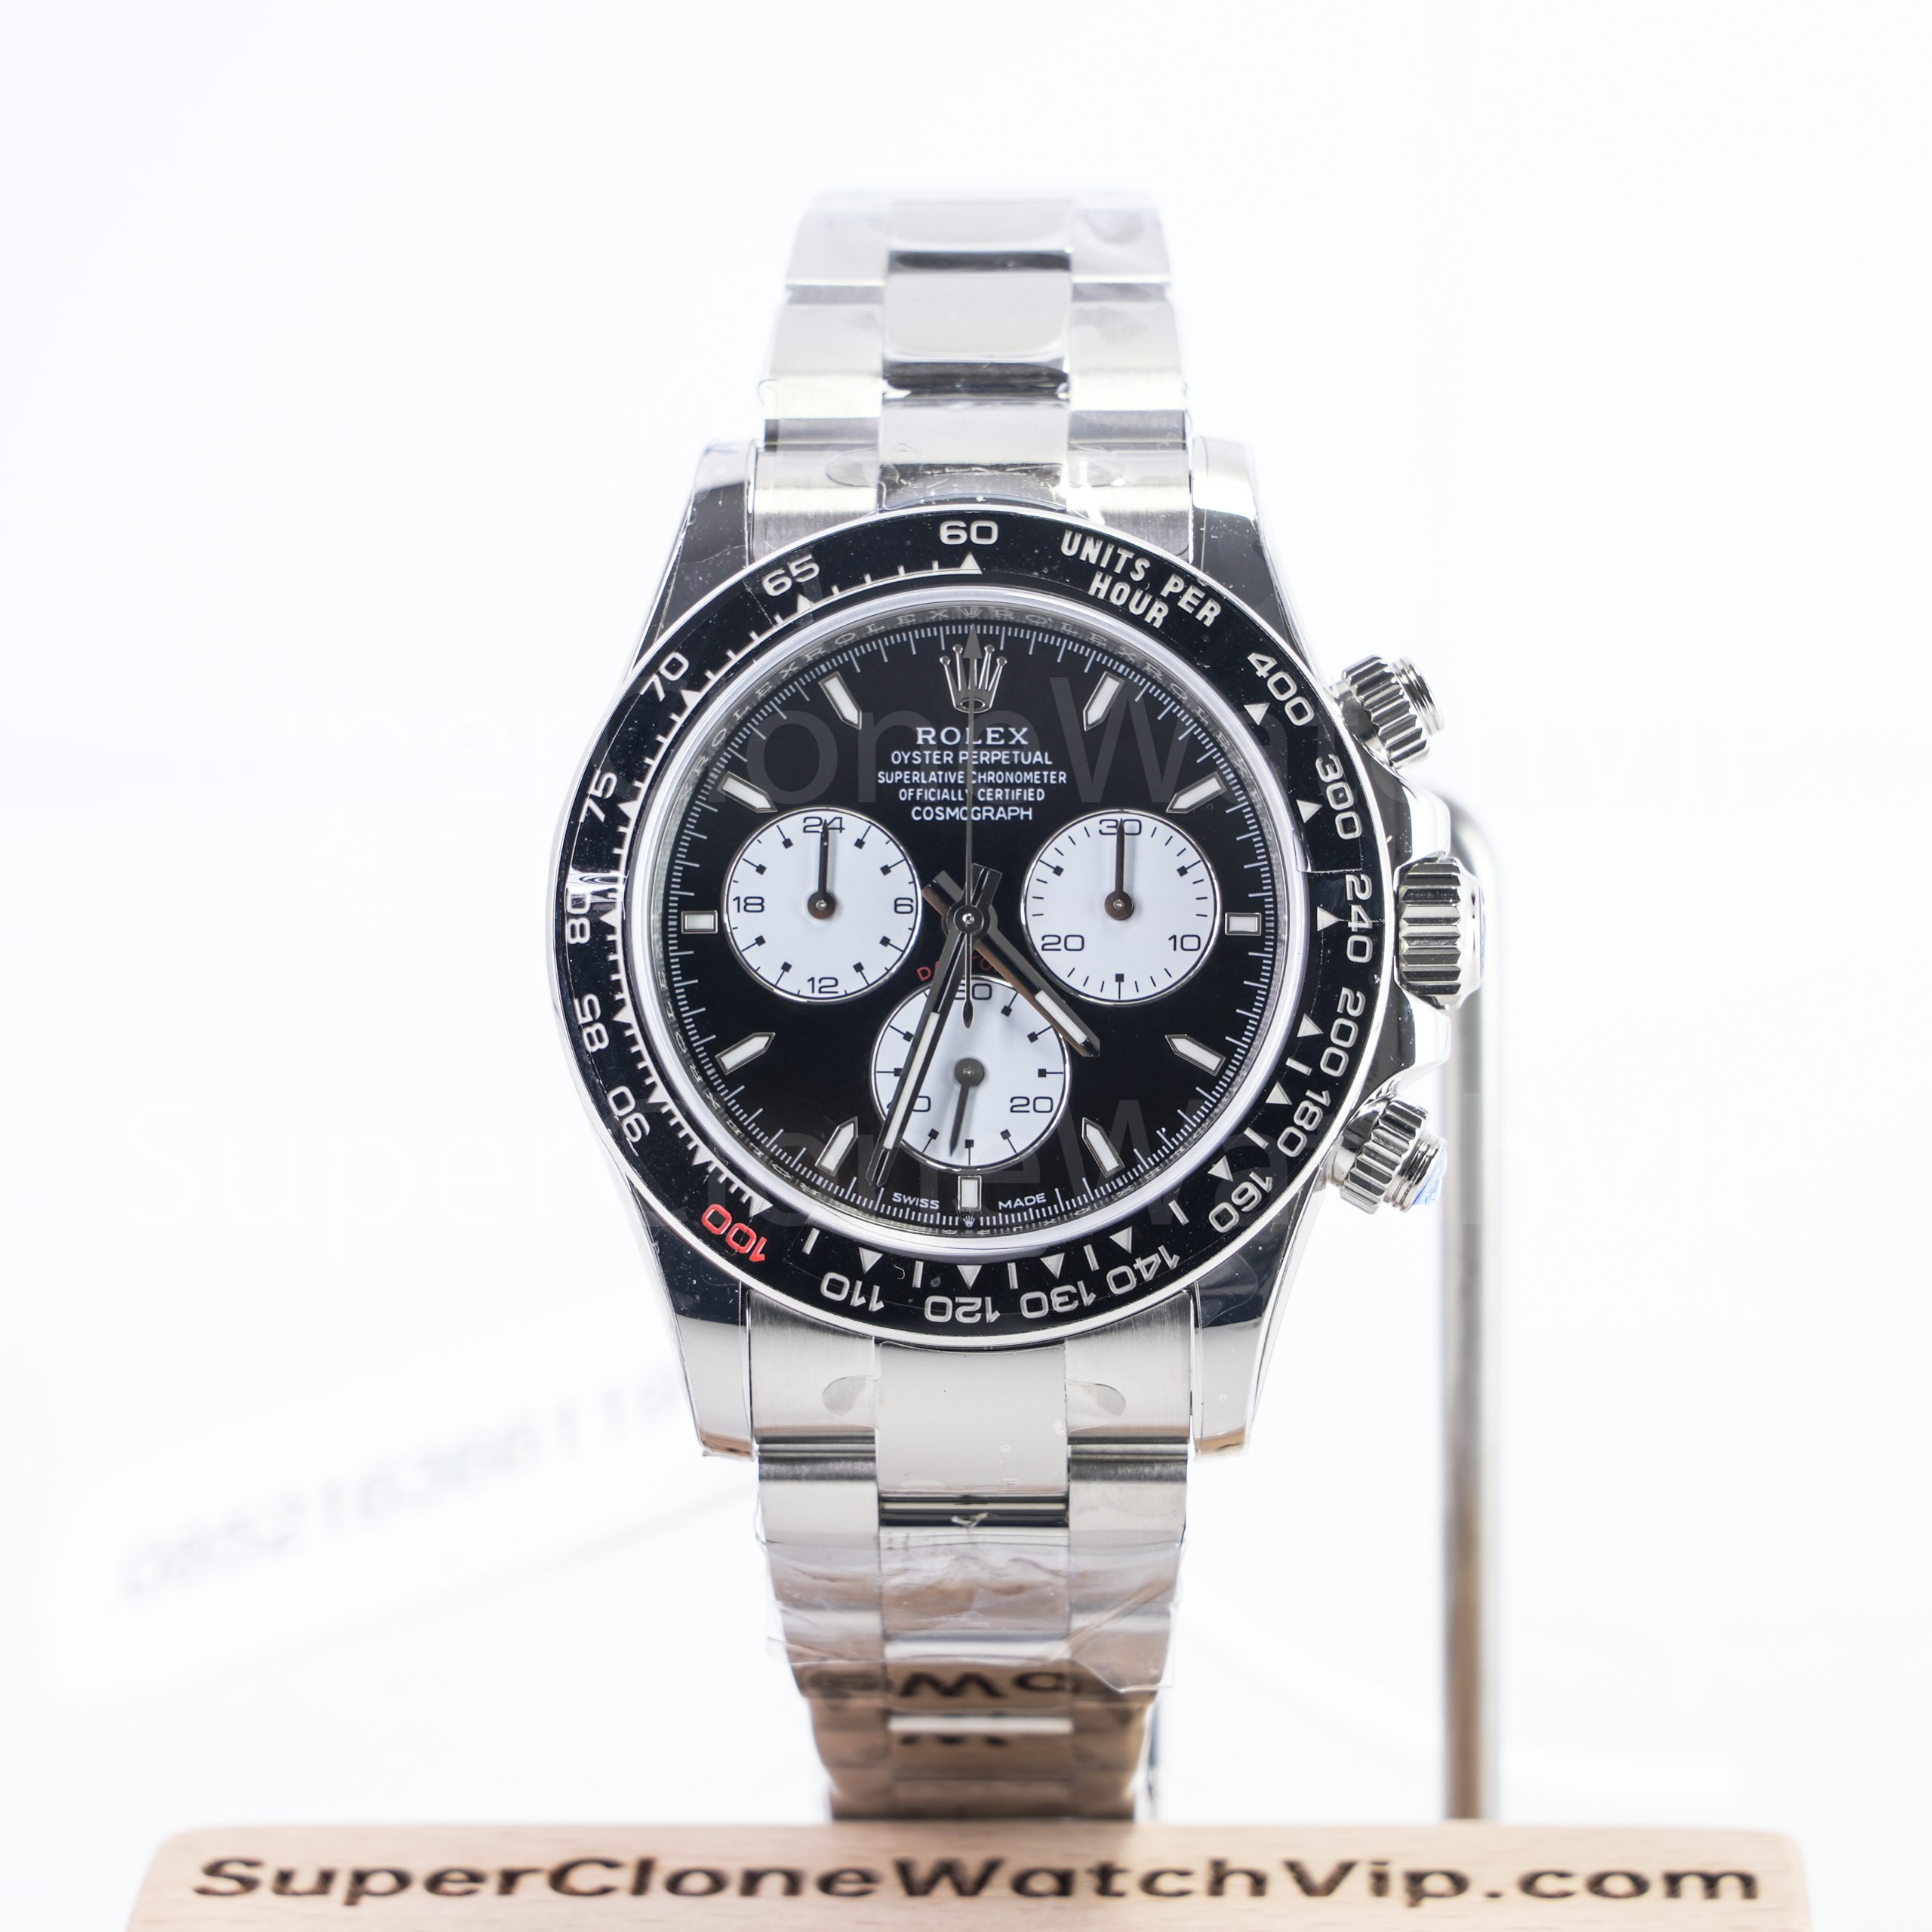
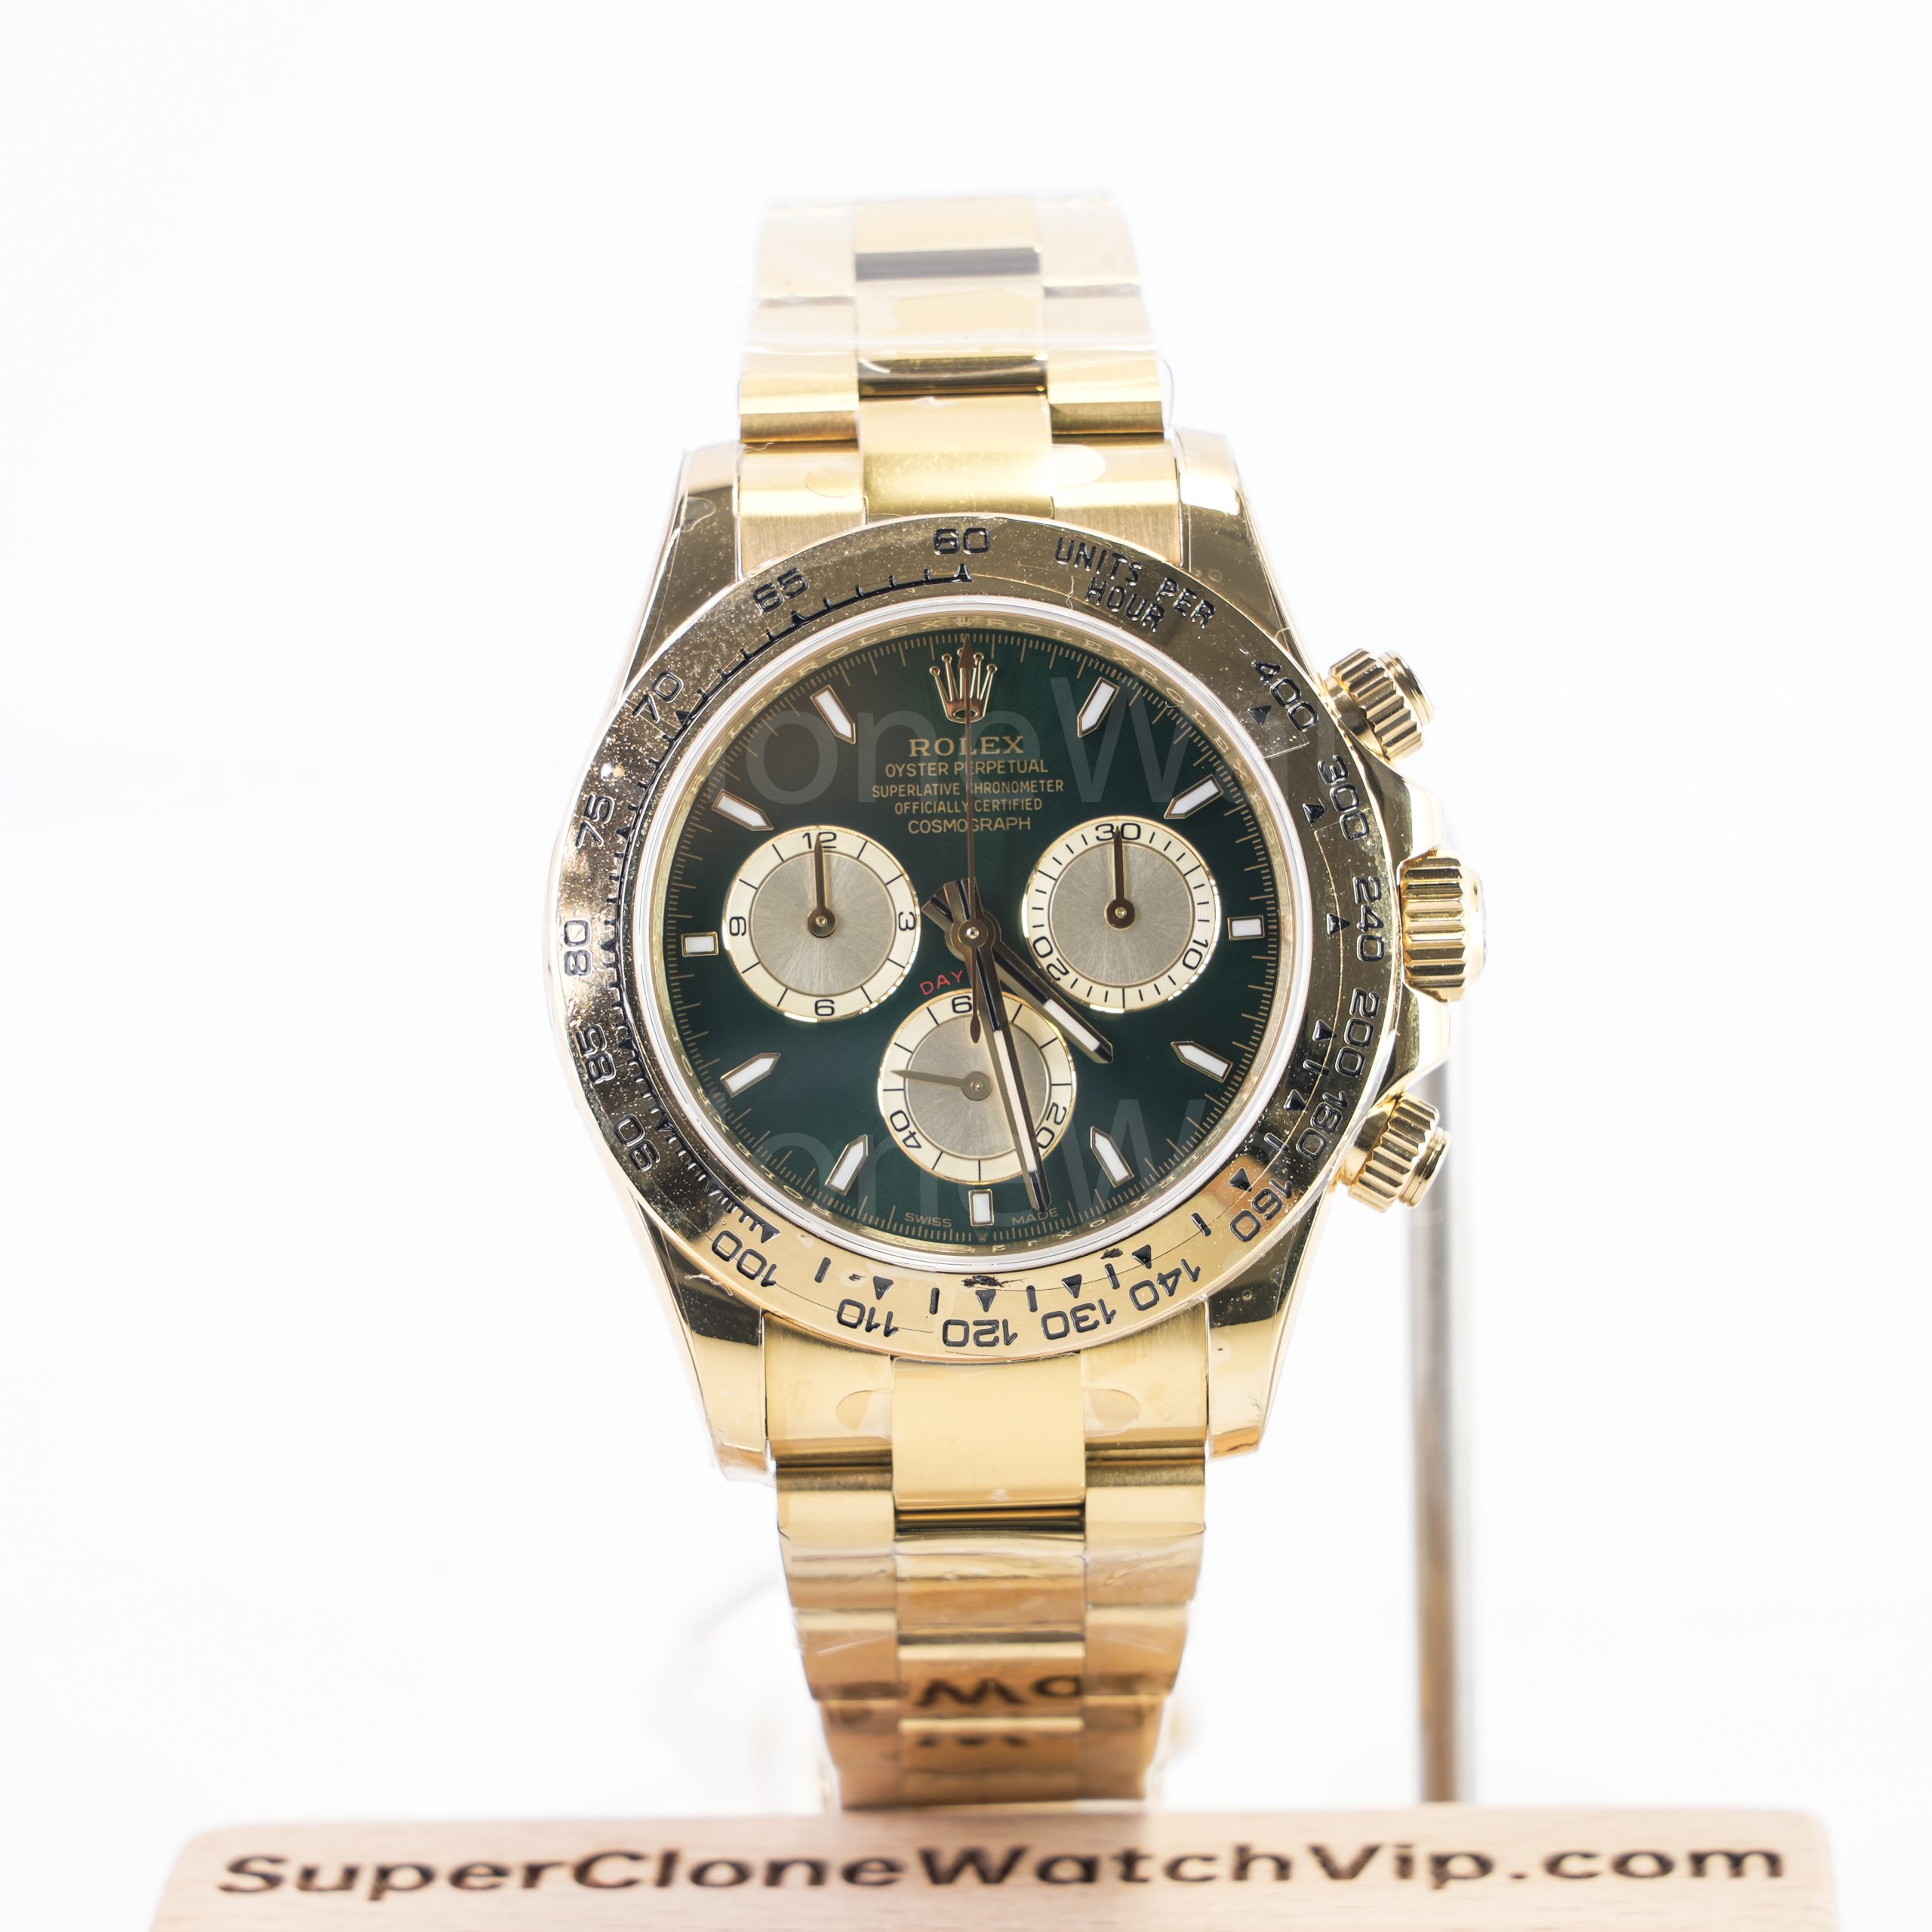
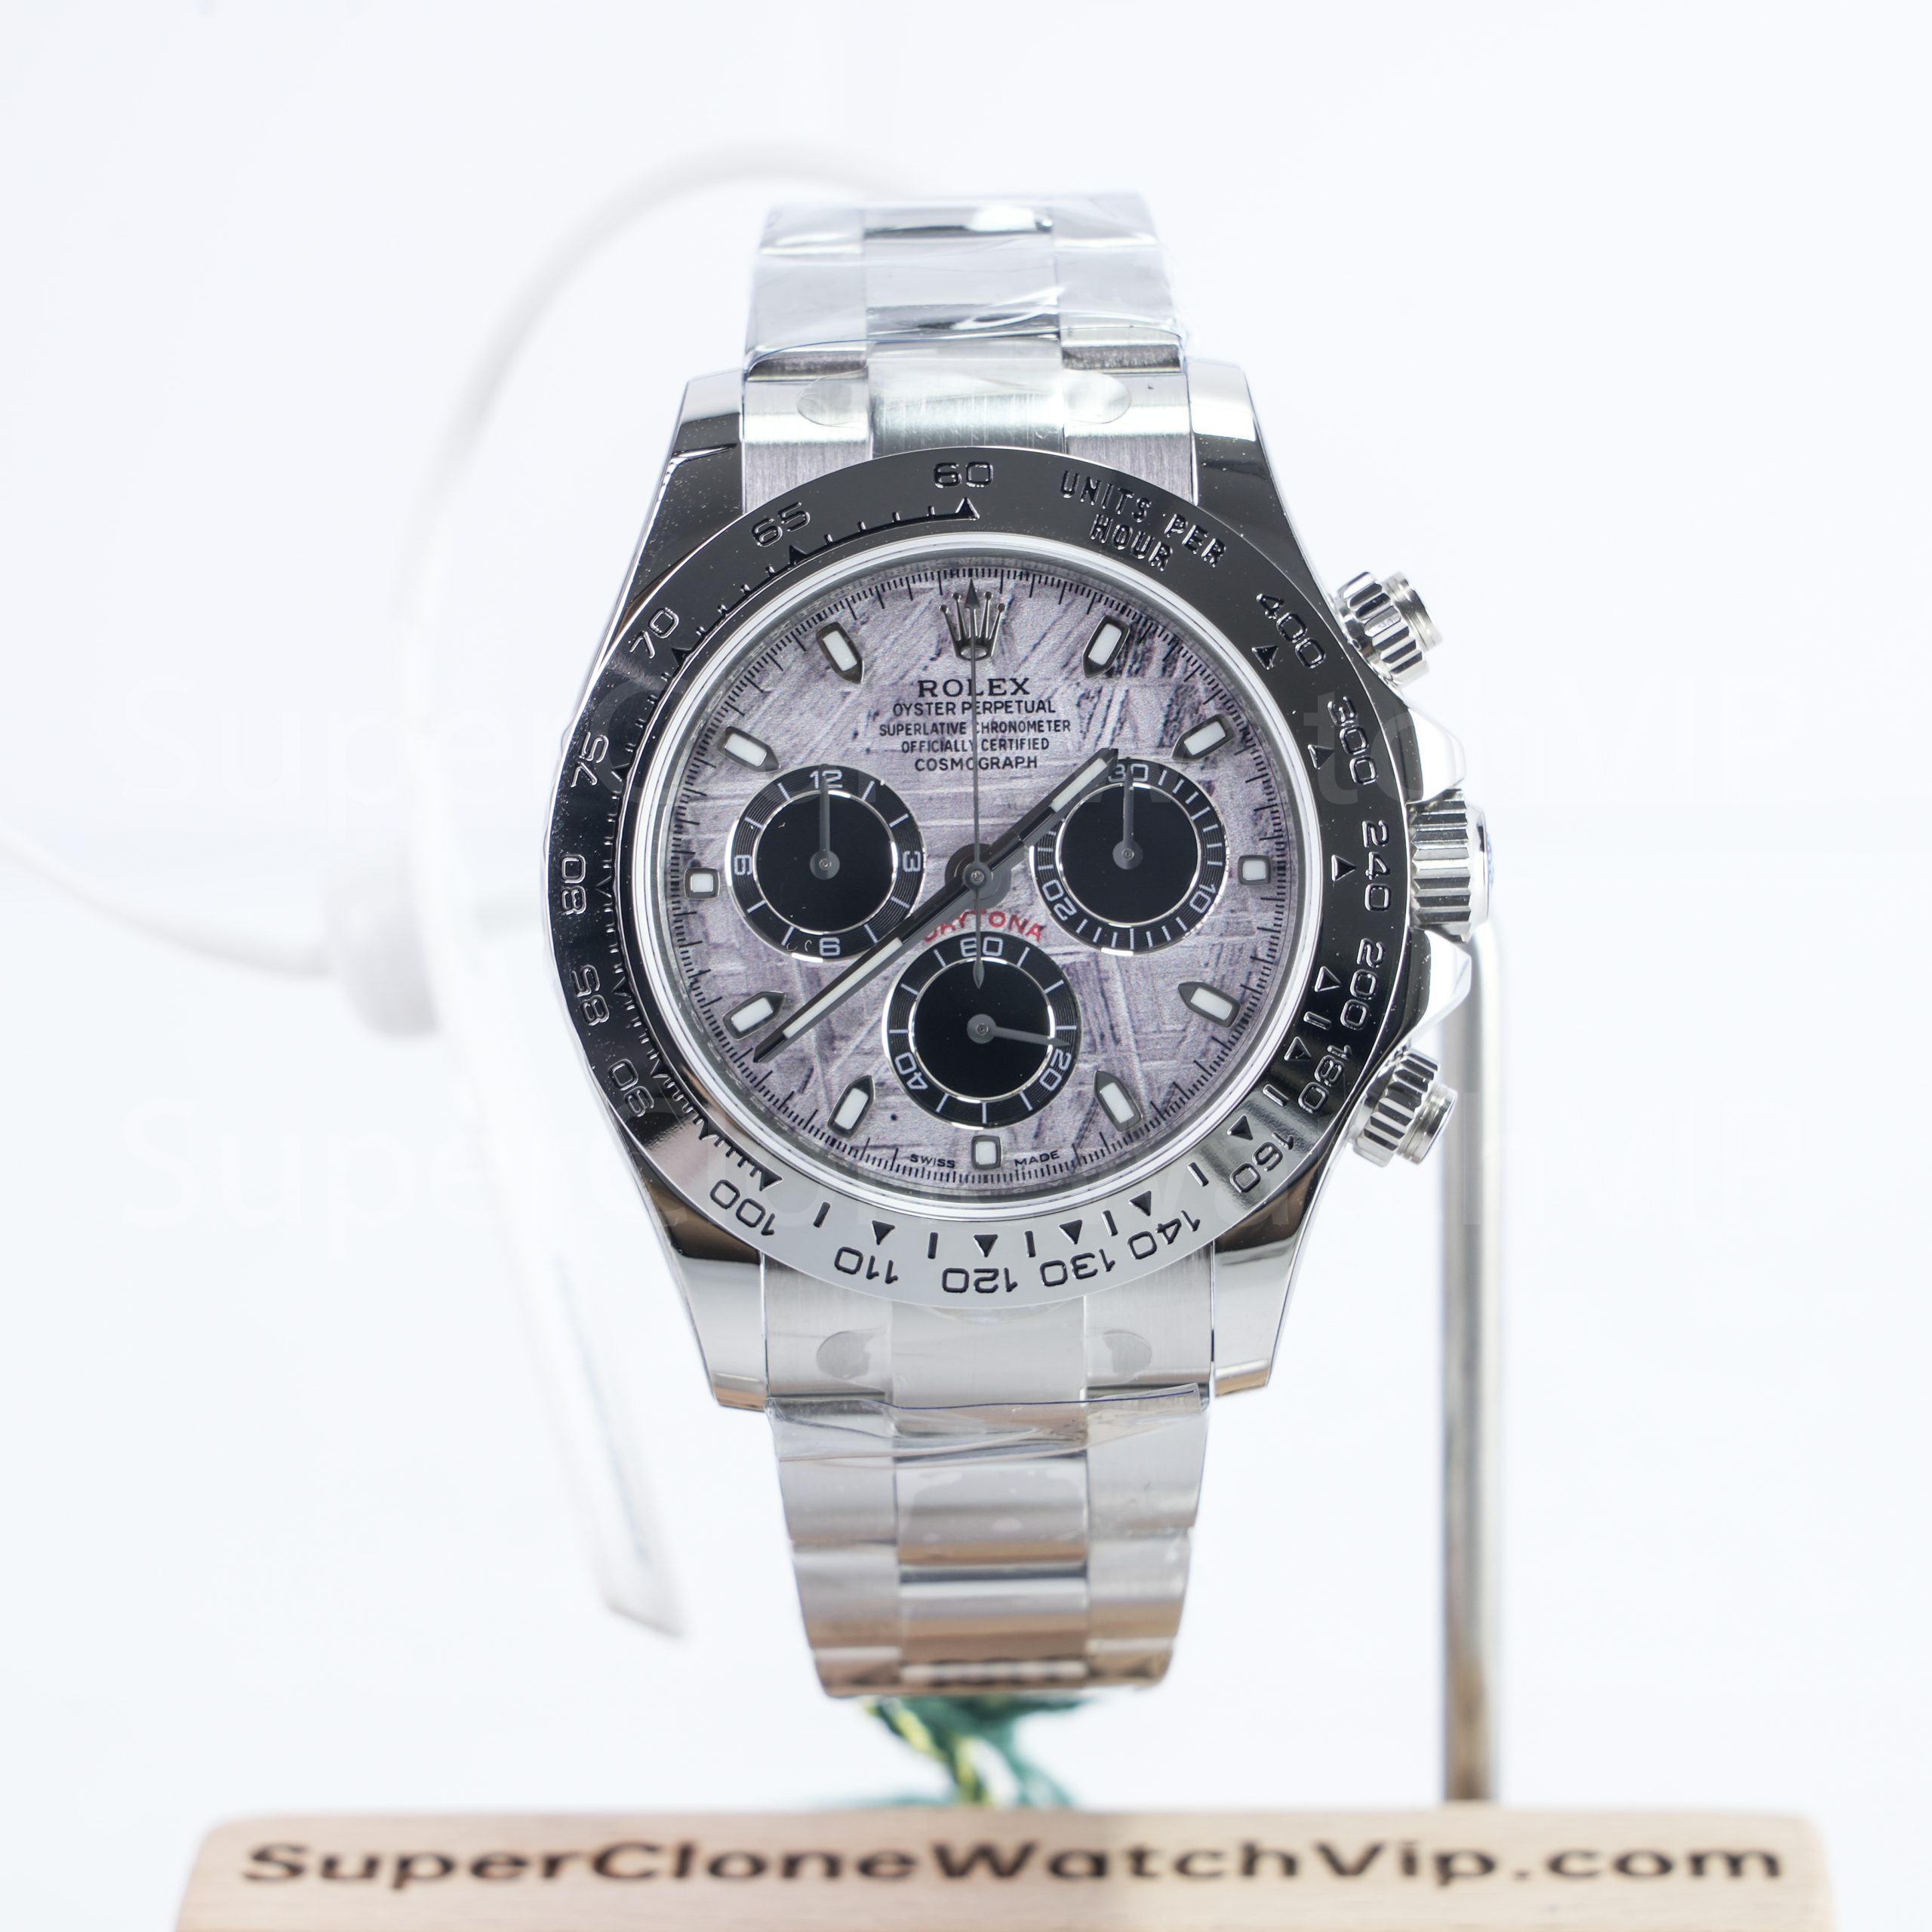
2. Panda, Racing and Dark-Dial Readability
Readability is not the same as dial popularity. Panda layouts give fast visual separation between the main dial and darker registers, but that contrast also exposes dust, uneven rings and inconsistent print weight. Dark dials look quieter on the wrist, yet reflections can hide hands, markers and small surface issues unless the lighting changes. Racing and special dials add character, but every extra accent becomes another fixed point to inspect.
Use the table below before requesting QC. Its purpose is not to rank dials. It connects each dial choice with the evidence needed to approve it.
| Dial Choice | Reading Effect | Main Visual Risk | Required Video Function | Best-Fit Scene |
|---|---|---|---|---|
| Panda | High dial-to-register contrast; easy to scan in normal light. | Dust, uneven subdial rings, tilted markers and weak black print become obvious. | Start, stop and reset, followed by a straight-on close-up of all hands at rest. | Daily sports-luxury wear and buyers who prefer a bright, recognizable face. |
| Dark dial | Quieter appearance; hands and markers depend more on reflections and contrast. | Dim photos can hide print, dust, marker tilt and glossy surface variation. | Start, stop and reset plus a slow tilt under ordinary light without heavy glare. | Understated office, travel and regular rotation use. |
| Racing / Le Mans | Stronger register identity and more visual information at a glance. | Accent placement, reverse contrast and register balance can look uneven. | Continuous start-stop-reset sequence with a close view of the post-reset positions. | Collectors and buyers who want the racing theme to lead the design. |
| Textured or color-forward dial | Appearance changes more as the watch moves through light. | Strong texture or color can distract from marker setting, print and hand contrast. | Start-stop-reset plus a slow light sweep before and after the reset close-up. | Statement wear where dial character matters more than a uniform surface. |
3. Subdial Spacing, Printing and Hand Position
The front photograph should be as straight as possible. A tilted camera can make one register appear closer to the dial edge than another, so do not reject or approve spacing from a single angled image. Compare the left and right registers against nearby hour markers, the central hand stack and the outer minute track. If the relationship looks inconsistent, request another centered view rather than relying on digital grid overlays alone.
Spacing and Rings
Check whether the registers look balanced around the center and whether their rings appear even. On Panda dials, dark rings make small differences easier to notice; on dark dials, use brighter light and a closer crop.
Printing and Markers
Look for sharp text edges, consistent print weight and straight hour markers. The 3, 6 and 9 areas deserve extra attention because the subdials leave less open space around them.
Hands at Rest
Before the function test, the chronograph hands should be shown at their reset positions. Request a second still after the video so the center chronograph hand and register hands can be checked without motion blur.
Avoid approving from one heavily zoomed macro shot. A useful set includes a full dial at normal scale, one close-up for print and marker detail, and one post-reset still. This catches obvious misalignment without turning lens distortion or dust on the crystal into a false defect.
4. Ceramic Bezel and Case Proportion
The fixed tachymeter bezel frames the entire dial, so blurred numerals or uneven presentation can weaken an otherwise clean watch. Request one front photograph for overall centering, one diagonal view for surface reflection and one close side view for the relationship between bezel, mid-case and crystal. The text should remain readable without looking thick on one side and faint on another.
Case proportion cannot be judged from the front alone. The crown side should show the crown, pusher tubes, pusher caps and case flank in one line. The opposite side should show the uninterrupted case profile. Look for balanced lug shapes, clean polished edges and a bezel that appears properly seated rather than floating above one section of the case.
Practical photo request: ask for front, crown-side, opposite-side and low diagonal views taken under the same lighting. This makes the case easier to compare than a mix of studio images, catalog shots and unrelated close-ups.
5. Pushers, Crown and Chronograph Feel
Pushers should be reviewed both as exterior parts and as controls. In still photos, compare their height, shape, spacing and alignment with the crown. In video, the operator should visibly start, stop and reset the chronograph. Where the pusher design uses locking collars, they should be released before operation and returned afterward rather than forced while locked.
Remote QC cannot transmit tactile feel, so words such as “smooth” or “solid” are not enough. Watch for hesitation, repeated pressing, a pusher that remains depressed, or a reset that requires editing or an off-camera interruption. A continuous clip gives more useful evidence than a spoken claim.
The crown should also be shown during basic time setting when available. The purpose is not a full movement service test; it is to confirm that the prepared watch can be operated without obvious sticking and that the crown and pusher area shown in the photos belongs to the same watch demonstrated in the video.
6. Bracelet, Clasp and Daily Comfort
The bracelet can make a well-executed dial feel complete or unfinished. End links should sit neatly between the lugs, the bracelet should taper naturally toward the clasp, and visible gaps should look consistent from both sides. On mixed-finish bracelets, check the transition between brushed outer links and polished center links under ordinary light rather than judging only from a bright studio reflection.
Ask for the clasp open and closed. The closed view shows alignment and side gaps; the open view shows the hinge, inner surfaces and visible engraving. A short clip should also show the bracelet moving freely and the clasp closing without repeated attempts. Check exposed screw heads and link edges for visible roughness before confirming sizing.
For strap-based Daytona styles, replace the end-link and taper checks with strap-to-case fit, curve, length and clasp or buckle alignment. The wearing scene matters here: a full bracelet gives a more continuous sports-luxury profile, while a strap can reduce visual weight and make a darker or color-forward dial feel more casual.
7. Movement Function and Reset-to-Zero Video
A movement photo or caseback view does not prove chronograph operation. The required evidence is a clear, continuous video of the exact prepared watch. It should begin with the dial in focus and all chronograph hands at rest, then show the control sequence without cuts around the reset.
Identify the Watch
Show the full front, dial color, bracelet or strap and a brief side view so the clip can be matched to the photo set.
Show the Reset Position
Hold a straight front view long enough to see the center chronograph hand and visible register hands before operation.
Start and Stop
Show the pusher being operated and the central chronograph seconds advancing. Stop it on camera without moving the watch out of view.
Reset and Hold
Reset once, then keep the dial still for a close inspection. Longer counter behavior should be shown only when practical and claimed for that version.
The clip should not jump from a running chronograph to an already-reset dial. If the reset is hidden by a cut, hand movement or camera change, request another video. The site’s Video Proof Before Shipping page explains the broader purpose of moving-angle evidence; for this model, the start-stop-reset sequence is the non-negotiable part.
Review the Current QC Process8. Daytona QC Approval Sequence
Do not combine model confirmation, cosmetic approval and function approval into one vague “looks good” message. Use the same order every time so a clean dial does not distract from an unproven chronograph, and a successful reset does not hide an incorrect reference or bracelet.
Stage 1
Lock the Order Identity
Confirm the exact product link, dial, reference, bezel, bracelet or strap, current version and any sizing request before QC begins.
Stage 2
Approve the Static Details
Review the straight dial, subdial spacing, print, markers, bezel scale, both case sides, pushers, crown, bracelet or strap and clasp.
Stage 3
Approve the Function Video
Match the video to the photographed watch, then check visible pusher operation, chronograph start, stop, reset and the held post-reset position.
Stage 4
Issue Final Approval
Approve shipment only after the photo set and continuous video both match the chosen reference. Record any accepted minor visual variation in the same message.
Where Factory Comparison Belongs
Use a factory comparison only after the exact Daytona reference and dial have been fixed. The separate VSF vs Clean Daytona comparison is the correct next page when two named factory versions are genuinely available for the same model. This guide does not repeat that factory-versus-factory decision.
FAQ: Daytona Dial and Chronograph QC
Is Panda dial easier to QC than a darker dial?
It is often easier to read in a straight photo because the light dial and dark registers create strong contrast. That same contrast also exposes dust, print variation, tilted markers and uneven subdial rings. A darker dial may hide those points in dim light, so it needs bright front views and a slow angled-light video rather than less QC.
What should a chronograph function video show?
It should identify the exact watch, show the hands at rest, record the start and stop operations, show the central chronograph seconds moving, capture the reset without a cut and hold a straight front view afterward. A separate light sweep can then show dial reflections and bracelet movement.
How can subdial alignment be checked?
Use a centered front photograph and compare each register with nearby hour markers, the center hand stack and the outer track. Confirm the judgment with a second straight view because camera tilt can create false spacing differences. Finish with a post-reset still to check the register hands at rest.
Do pushers need to be operated before approval?
Yes. Exterior photos can show pusher shape and alignment, but they cannot confirm operation. The function video should show the start, stop and reset presses. Where locking collars are present, they should be released before use rather than forced while locked.
When should the Clean vs VSF Daytona comparison be used?
Use it after choosing one exact Daytona reference and confirming that both factory directions are relevant to that same model. It should not replace dial selection or QC. Compare the current versions, then return to the actual photo set and function video before approving the prepared watch.
Approve the Photos, Then Approve the Video
The final decision is complete only when two records agree. The photographs must confirm the selected dial, reference, bezel, case, pushers, bracelet or strap and clasp. The continuous video must confirm that the same watch starts, stops and resets, then returns to an acceptable zero position.
Send the exact product link and your dial choice first. Request the static angles listed in this guide, review them without mixing catalog images into the set, and then request the uninterrupted chronograph sequence. Approve shipment only after both stages pass.